Example: Opening Windows Settings from the Start Menu
Example: Opening Windows Settings from the Start Menu
In the previous example we created an Alyvix test case consisting of a single test case object. Most of the time though, you’ll need to chain together multiple test case objects to synthesize more complex behavior in your apps. So let’s extend our previous example to run a second action: opening the Windows Settings app.
Launch Alyvix Editor with the same file name from our previous example:
C:\Alyvix\testcases> alyvix_editor -f start-testEditor will load the
start-test.alyvixtest case created in the previous example.We need to capture the screen once the Start menu has already opened, so change the delay number in from
0to something higher like5, then click on :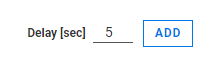
Once you click , you’ll have 5 seconds to open the Windows Start Menu (you’ll need to click on the Start button yourself in that time) before Alyvix captures the screen.
After the screen flashes white, press Escape to return to screen capture mode, and then right click on the Settings icon at the left side of the Start Menu. This will autocontour the icon.

Press Escape again to return you to Editor with the new selection in the Designer panel at the right. Assign a left click action as in the previous example by changing the value of the Action dropdown from
NonetoClick: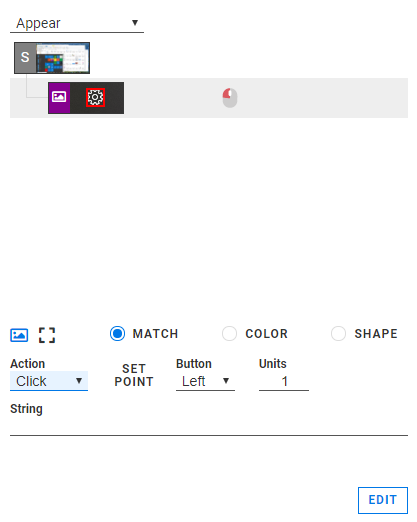
In the Selector panel at the bottom left, change the name of our new test case object from VisualObject1 to a new one like PressSettingsIcon:
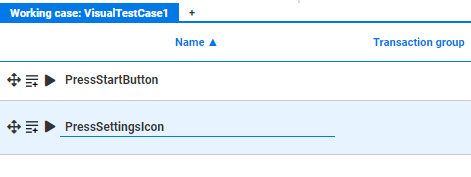
Using its icon seen above, drag the new test case object into the Scripting panel underneath the existing script element (similarly, clicking the
 icon will add it
to the end of the script):
icon will add it
to the end of the script):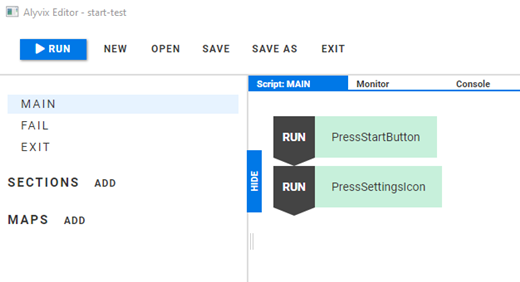
Now call Alyvix Robot by pressing the
 button at the top left. You’ll see the Start
Menu open, and then a few seconds later a click on the Settings icon, at which point the Windows
Settings app will open.
button at the top left. You’ll see the Start
Menu open, and then a few seconds later a click on the Settings icon, at which point the Windows
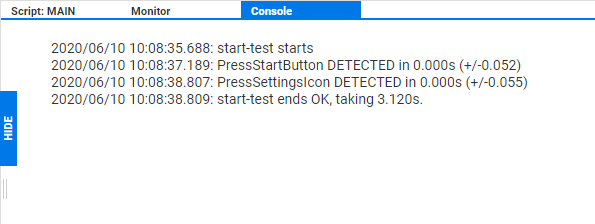
Settings app will open.At the top of Editor, open the panel. This contains the timing results for each script element.
Finally, save and exit Alyvix Editor using the and buttons at the top.